
Know the parts of a crab snare
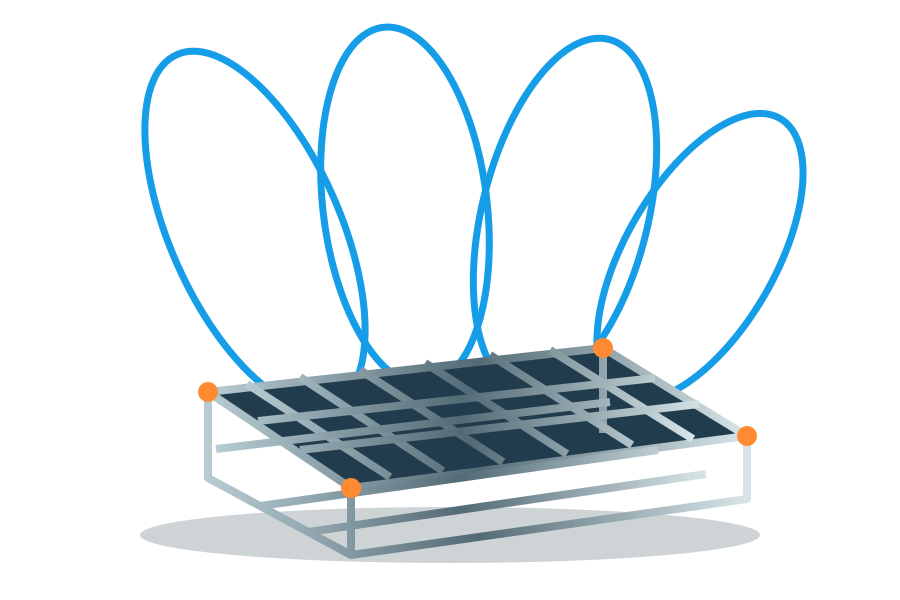
Original conceptual illustration — proportions and rigging vary by manufacturer.
Bait cage
The cage holds bait and helps position the snare on the bottom. Look for secure closures and smooth edges.
Snare loops
Loops surround the bait cage. Their shape and placement vary by design; keep them untangled and inspect for wear.
Leader, swivel and weight
The leader connects the snare to your fishing line. Swivels may help manage twisting. Some snares include weight while others require a compatible configuration.
Rigging checklist
- Read the product manufacturer's instructions.
- Inspect every attachment and knot.
- Ensure the loops remain free and are not trapped under the cage.
- Account for the combined weight of cage, bait and sinker.
- Test the setup in a safe location before fishing.
Rod casting ratings are not interchangeable with line breaking strength. Do not cast a loaded snare heavier than your rod is designed to handle.
Related guides
Read about bait options or choosing a snare.